"Aye, this year it be a fine crop o'boxes."
This article is not about agriculture.
Farming, in the context of the EDF games, is a process where a particular level is played repeatedly (grinding) to accumulate desirable Items and boost a character's capabilities quickly.
There are many strategies for doing so in specific games using particular levels, some of the most popular of which are detailed below.
At present this article mostly lists techniques for Earth Defense Force 2025 and Earth Defense Force 4.1: The Shadow of New Despair.
Outline
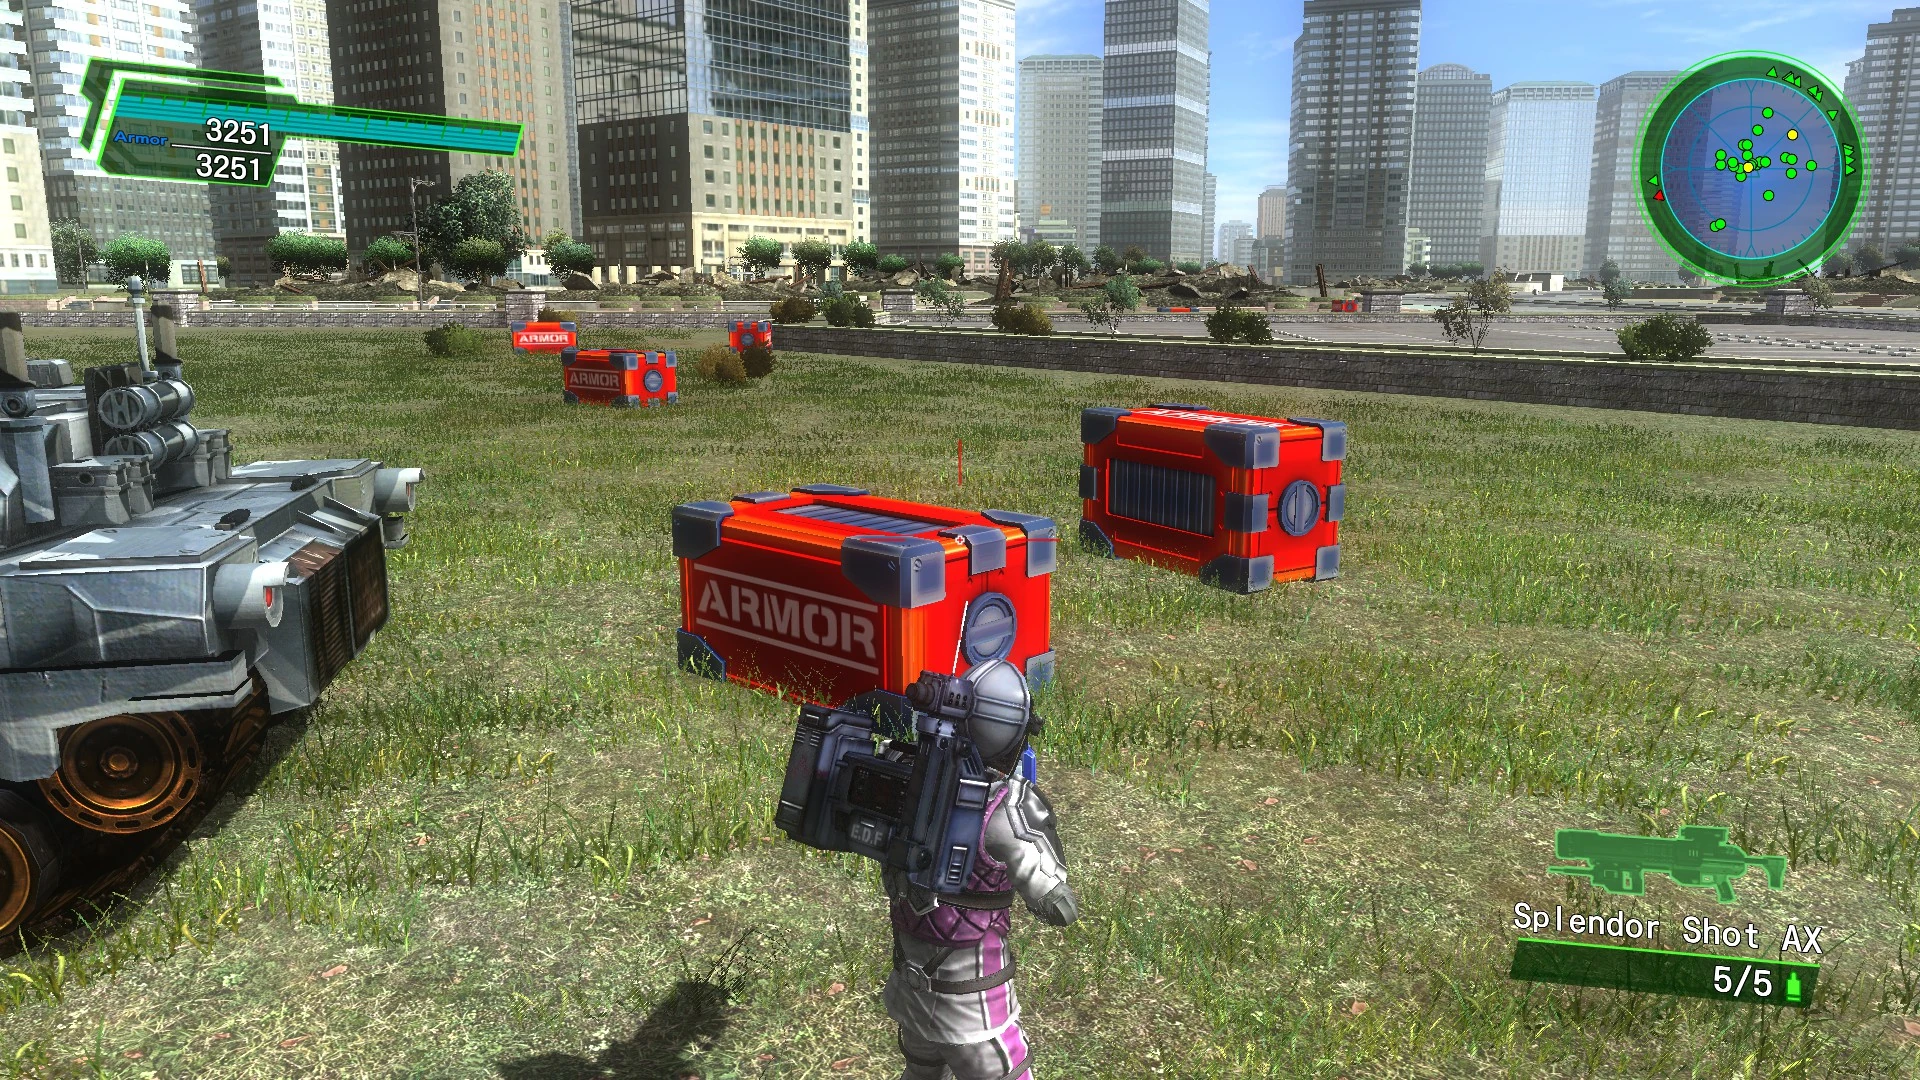
In games other than Insect Armageddon there are two types of desirable item: Armor pickups to increase maximum health, and Weapon pickups to increase the player's arsenal. Typically, farming methods focus on one or the other rather than both.
Insect Armageddon differs since it has no Armor system; it is still possible to farm for weapon crates, but grinding for experience and credits replaces grinding for health.
Global Defence Force
Armor farming
Shut Down
Mission 21
Prerequisites:
Shut Down is the only mission in the game where Anthills spawn one at a time rather than all together, and therefore is suited to AFK farming. The trick to this involves positioning the Pale Wing inside the second Anthill while it is appearing. This will result in the Pale Wing ending up clipped inside the Anthill, but still able to fire straight up out of it without damaging it. A Thrust-type Rapier must be used since a normal one will hit the sides of the Anthill and destroy it.
Some fine adjustment is needed; there is a specific spot to stand where the Pale Wing will pick up items the instant they are dropped. Once this is set up, the fire button is secured and the game left for an hour or two, and the mission completed in the normal manner afterwards.
Weapon farming
Saurous!
Mission 13
Prerequisites:
- Pale Wing: Any Rapier.
This technique takes advantage of Global Defence Force's massively overpowered Rapier weapons to kill the single Saurous in this mission repeatedly on Inferno. While this is time-consuming since the only drops obtained are from this one Saurous, standing on the creature's back makes the Pale Wing virtually immune to its attacks, and even the starting-level Rapier will kill the creature fairly quickly.
2025 / 4.1
General
Any mission containing a Transport Ship or Tunnel Exit can potentially be farmed for items since these will both endlessly replace enemies, though it varies how easy this actually is in practice.
Co-op
Most of these strategies are either designed with split-screen co-op in mind or benefit from it, and so a brief rundown on how to use this mode is a good idea.
In co-op mode, both classes being played get all armor pickups, regardless of which character picks them up, but only the class that picks up a weapon item gets an unlock at the end of the mission. This means that weapon-farming tactics, which usually use a Wing Diver, require the second character move up and pick up the crates if the player wants something other than Wing Diver weapons. This means there is a strong preference for levels with distinct waves.
In co-op with one player, the second character can be used as a safety net by making them the same class with the same equipment, effectively having them be an "extra life." This will also double the amount of armor gained, since normally both classes get all armor pickups and the game does not seem to notice if both classes are the same for this.
Alternatively, if the second character is a different class they can be kitted out as a utility character; this is particularly good if farming things for an Air Raider due to their numerous support options with the player able to take either strikes to make their main character's job easier or support equipment to, um, make their main character's job easier too. But the other classes can be useful as backup too: a Ranger has healing items and a Fencer can use a fire support weapon set to provide long-range assistance when it is safe to stop controlling the main character for a moment or when the Wing Diver's problems dealing with multiple high-HP enemies at range are threatening to doom her.
It should be noted that in co-op, characters can revive one another, so it is not the end of the world if an enemy sneaks past the main character and kills the one who is supposed to be picking up items later. Equally, if this character has the ability to kill a small number of the enemies they can sometimes pull off a revive of the main character and save the day.
Unlike online multiplayer, offline co-op does not apply a multiplier to enemy health and damage, so it is actually significantly easier than two-player online co-op.
Armor farming
Armor farming methods involve playing on Easy since Armor drops are not affected by the selected difficulty level. Since the focus is on volume of drops rather than quality, "AFK farming" methods are preferred. In such a method, weapons with a high rate of fire and (usually) a fast reload are used such that the trigger can be held and they will consistently kill all enemies that appear. It is generally a good idea to turn off vibration in the menu for any controllers being used, as this will prevent the joypad shaking loose whatever is holding down the triggers, falling off whatever it is placed on, and / or annoying people on the floor below the room it is in.
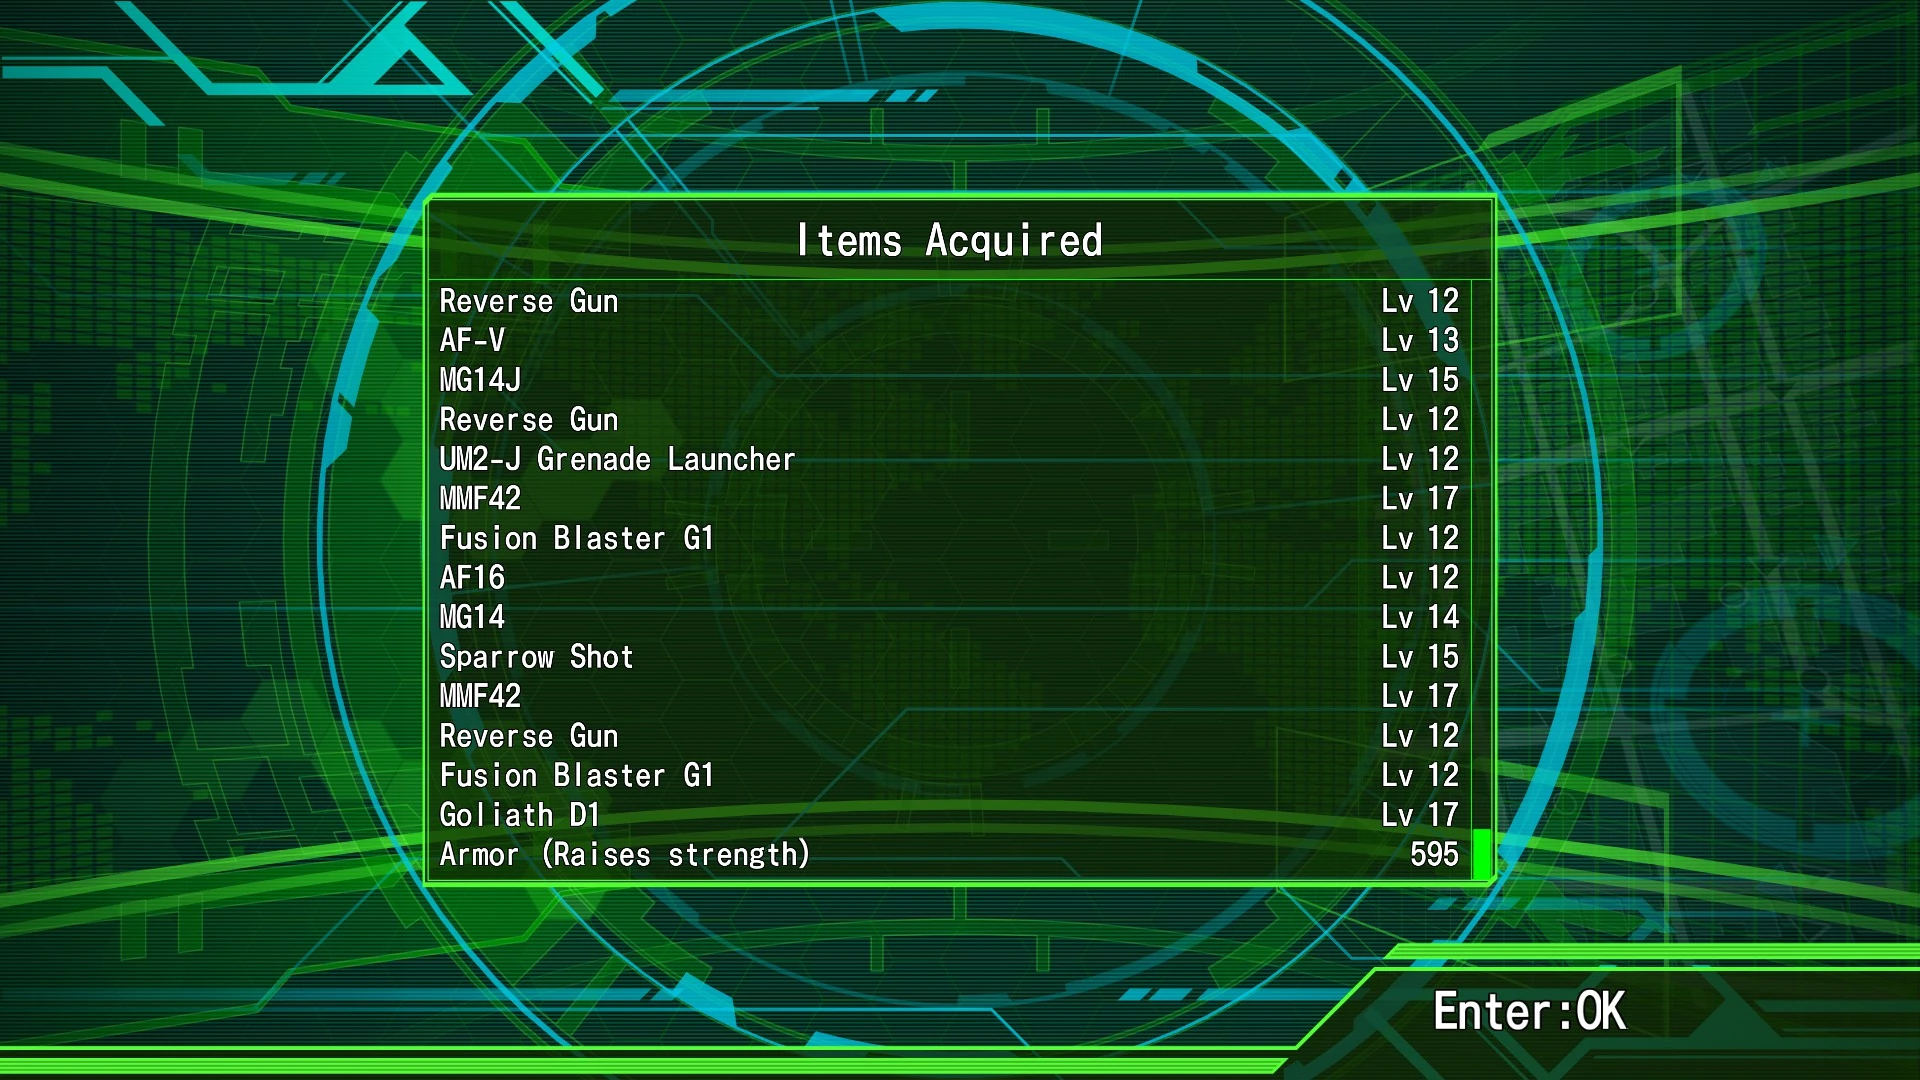
There is a limit to how many item crates can be spawned at the same time, and while it is high enough for just about any normal scenario, an AFK farming trick has to have a way to pick up the crates to maximise effectiveness. There is also a limit to how many items can be "cashed in" at the end of a mission no matter how many are picked up. Unlike 2017 the selected difficulty has no effect on this: the limit is always 999. If both characters in co-op are the same class, it is therefore possible to be awarded a maximum of 1,998 Armor pickups in one mission (the doubled number is not shown on the results screen, but is applied after it), though since Weapon items also draw from this limit, this will never happen in practice.
The Air Raider has no personal firearm suitable for AFK farming.
Land Collapse
Mission 15 (both)
Prerequisites:
- Second controller, or a controller if playing 4.1 on PC.
- Elastic band, tape, etc, or weight to rest on mouse button
- Wing Diver: Any Thrust-type Rapier with a half-second reload
- Air Raider: Any EF24 Bazelart helicopter, preferably at least the second since it actually flies
This is a fairly weak AFK farming technique based on farming the second Tunnel Exit, and works on any Tunnel Exit with a vantage point nearby. To set it up, the Wing Diver is first used to kill the EDF ally unit's Commander (making this method Morally Bankrupt as well as inefficient) with the Wing Diver neither killing or recruiting the rest of the squad. This is done because the NPCs in this mission are scripted and would normally move on to attack the second Tunnel Exit, but without a commander they will stay in the area of the first.
The Wing Diver then positions herself on a rooftop overlooking where the second Tunnel Exit will appear and starts firing her Rapier at where the top will be. Whatever method is being used to lock down the fire button is then applied.
The player then switches control to the Air Raider, summons the Bazelart, and destroys the first Tunnel Exit, then lands right on top of the second. Normally, simply standing on a Tunnel Exit will fail after a while since a character can be pushed around by giant insect corpses, but a helicopter is made of stronger stuff and cannot; this will keep the Air Raider in place to collect the weapons. It is normal for the helicopter to take a small amount of damage from the Wing Diver's Rapier while landing, but this should not be enough to destroy it.
This will take about four hours to max out possible drops, after which the level is completed in the normal manner.
Valley Shadows
Mission 17 (both)
Prerequisites:
- Second controller, or a controller if playing 4.1 on PC.
- Elastic band, tape, etc, or weight to rest on mouse button
- Wing Diver: Any Rapier with a half-second reload, preferrably not a Thrust-type
- Ranger: Any Flamethrower except Torch
This AFK farming strategy works on any level with a stationary Transport Ship dropping Black Ants or Spiders, with this being the first such level. The level is played normally until only one of the two Transport Ships that arrive in the valley remain, and then the Wing Diver takes up position under the Transport firing her Rapier straight up, while the Ranger moves nearby and fires his flamethrower over her head to soften up the descending spiders, aiming so as not to hit either the Wing Diver or the Transport Ship. This method takes roughly four hours to max out the per-level drop limit, after which the Transport Ship is destroyed to finish the level.
Brute Force (4.1)
Mission 31 (4.1)
Prerequisites:
- Second controller, or a controller if playing 4.1 on PC (not required but doubles drops)
- Powerful sniper rifle, rocket launcher or equivalent can be useful
- Air Raider: fast vehicle, high-level Armored Vehicle Grape is best. SDL1 is not best.
- Fencer: Reflector or Javelin Catapult will maximise bonuses
This is a fun hands-on farming method that takes advantage of the fact that in 4.1 this level will beat itself on Easy, and with the huge force of Hectors present there are near-constant drops; it is very easy to get over 100 Armor items here. The big problem is that they are spread out across the wide, open Plain map, and so this strategy is only suitable for a Ranger if they are co-op'd with an Air Raider to give them a vehicle.
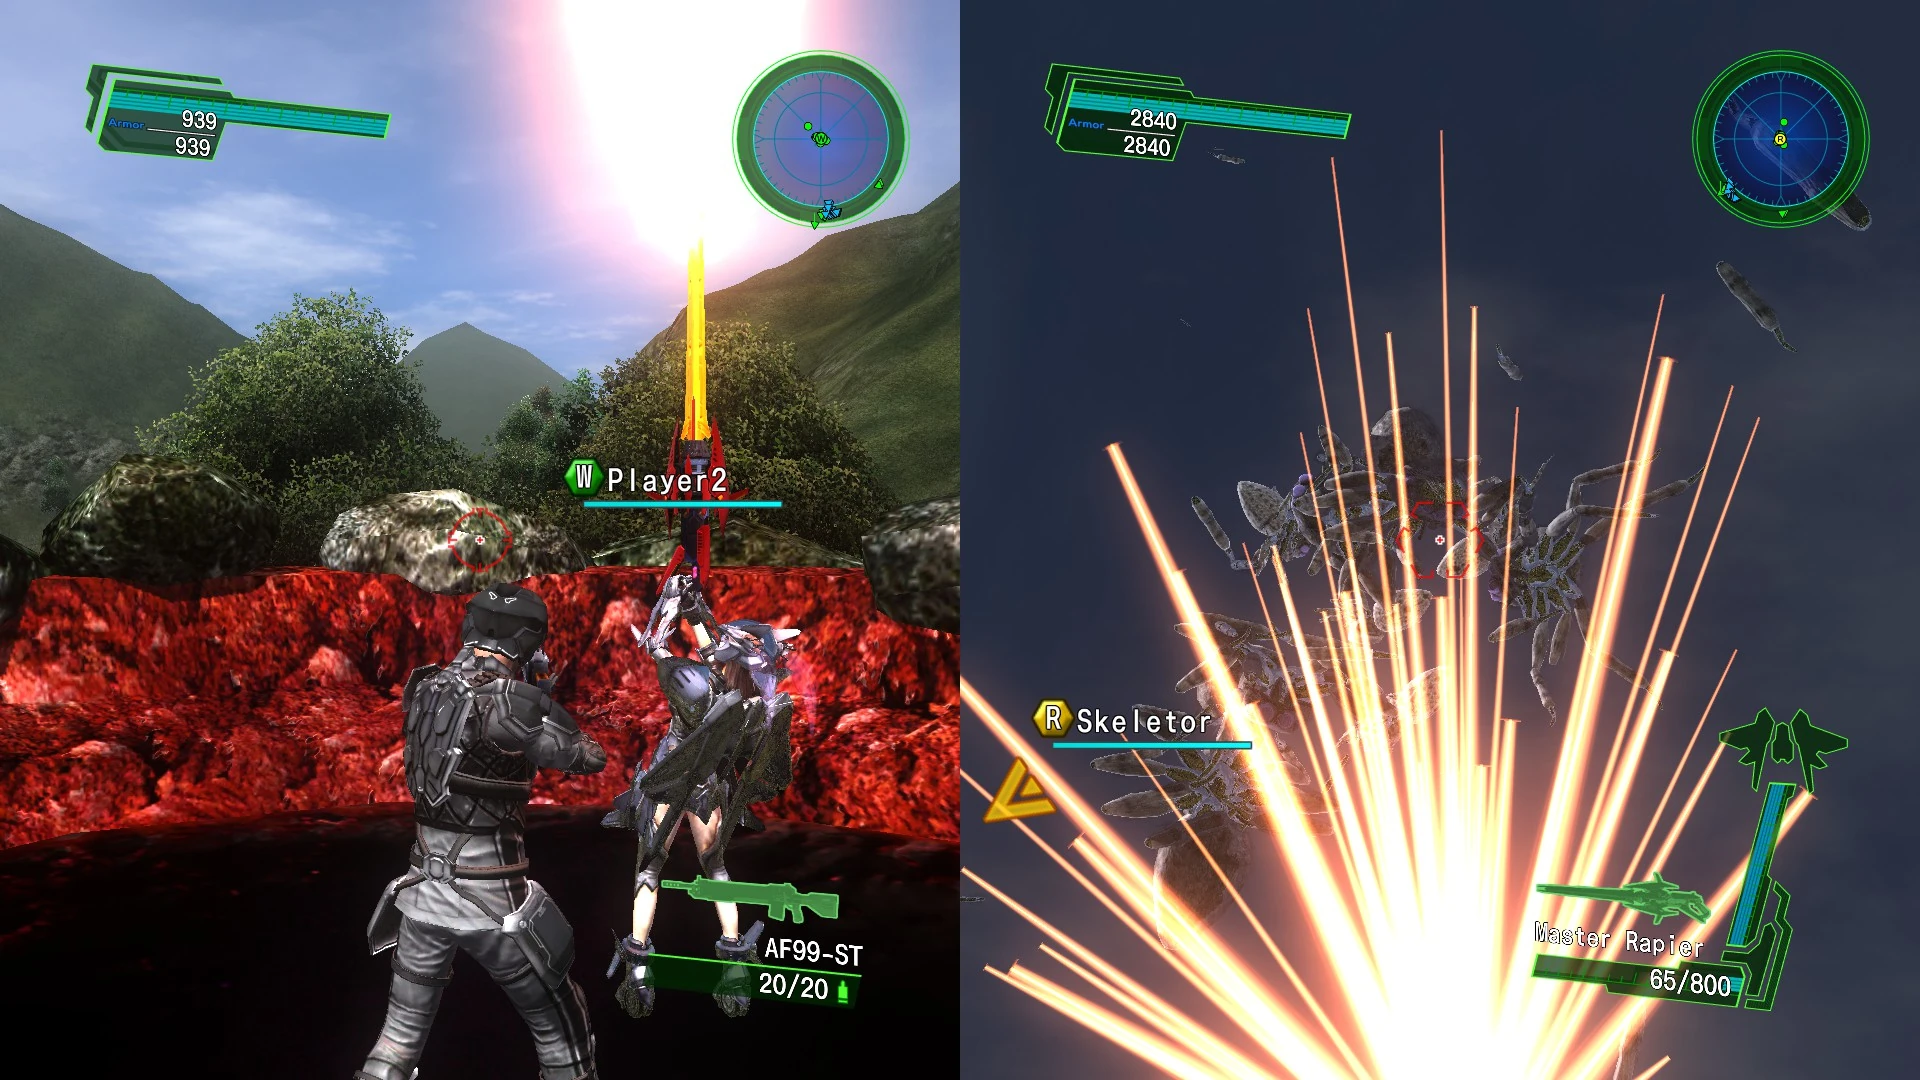
Mountain of Change / Shifting Mountain
This took a little over half an hour.
DLC 2 mission 12 (2025) / DLC 1 mission 17 (4.1)
Prerequisites:
- Have 2025 DLC 2 / 4.1 DLC 1
- Second controller, or a controller if playing 4.1 on PC
- Elastic band, tape, etc, or weight to rest on mouse button
- Ranger: AF100 or Magma Cannon (Magma Cannon is best)
- Wing Diver: Master Rapier
- Fencer: UT3 Gatling Gun, Jackhammer MA or Hell Flame Revolver
This is the fastest Armor farming method in the game, generating the same amount of items in one hour that most do in four. However, it also requires very high-level gear since the targets are Silver Spiders. It is slightly less profitable in 2025 than in 4.1, since in 4.1 there are nine Spiders spawned at once from the target Tunnel Exit, while in 2025 there are only six.
This method uses a different means of preventing characters being pushed off a Tunnel Exit: rather than using a helicopter to prevent being pushed, the idea is to use the physics effects of firing extremely over-levelled weapons straight up to hurl the enemies into the air so their bodies do not move the characters around.
The mission is played as normal (with overlevelled gear) with the first character until the first Tunnel Exit that spawns Silver Spiders appears: in 4.1 the player characters should stay still until the added Wing Diver unit flies past them to avoid accidentally recruiting them, then circle around the valley to the left to take out first Tunnel Exit.
The Spiders immediately regretted asking about the EDF's super-cheap air travel program.
Once the Silver Spiders start spawning, the first character kills them, making sure not to hit the Tunnel Exit, and then jumps up into the Exit (a Ranger or Air Raider can do this by jumping up the exterior rocks) and stands as close to the centre as they can. They then aim straight up, and whatever method is being used to secure the fire button is engaged. If the character is a Fencer they should use both of one weapon pair for this, firing one until it is half empty before firing the other, so there is never a point when both weapons are down for a reload.
To be sure no drops are missed, the second character is then moved up to at very least stand in the Tunnel Exit with the first. If the shooting character is a Ranger using an AF100 or Magma Cannon or a Fencer being a goof with Jackhammers, it is generally necessary for another character to shoot with them since both weapons often miss a spider or two on one side and even on Easy a Silver Spider can do a lot of damage before it ill-advisedly jumps on top of the character and gets fired into the stratosphere. It is always necessary for the Ranger, since the weapons used have 2 and 3 second reloads and it is possible that enemies will spawn in and jump off the exit while one Ranger is not firing. This works in the same way as timing a Fencer's two weapons, setting up the reloads so one weapon is half-full when the other is reloading, ensuring there is never a time when both characters are not firing.
After an hour or so, the player returns, destroys the Tunnel Exit, and then destroys the remaining pair, starting with the more dangerous one on the right which spawns Gold Ants. If the player messes up and destroys the target Tunnel Exit they can instead use the other one here, though this spawns one less Spider at a time, five in 2025 and eight in 4.1, so is a tiny bit slower.
When doing this to gather Armor for an Air Raider, it is best to use a Wing Diver, since she can easily handle all the Spiders on her own with her Rapier and the Air Raider cannot really do anything to help out.
While in general it is best to AFK farm in offline co-op mode, this method straight-up does not work in online mode due to the weapon level limit not allowing a sufficiently overpowered weapon to be used.
Weapon farming
Weapon farming techniques focus on getting high-level (usually Inferno) weapon drops with characters who have low hitpoints for the difficulty, allowing for fast power-levelling of equipment. Unlike other loot-based games, no weapons are "rare" (it only feels like it sometimes); instead, the spread of the levels of weapon drops is wider at higher difficulties, meaning a higher tendency to get duplicates rather than a specific desired weapon the more weapons the player already has. Duplicate weapons do nothing, they are just a "no prize" roll.
Levels which are focused on are either those that will complete themselves, or levels with predictable spawns and easily managed enemy groups so that an underpowered character can defeat them safely. A particular favorite is abusing the Wing Diver's Mid-Range Electroshock weapons for their ability to fire around corners, allowing her to deal damage against enemies that cannot fire back. The Thunder Sniper 40 can also be used for this: it is less effective in 4.1, since in 2025 each individual "trace" of electricity can hit the same enemy multiple times, while in 4.1 they can only hit each enemy once.
It is usually preferred for these to not be missions with Tunnel Exits or Transports since these are much harder to deal with on Inferno: missions with completely fixed spawns are preferred.
Setting Sun
Mission 4 (both)
Prerequisites:
- Ranger: Stringer sniper rifle, Goliath rocket launcher or Prominence missile launcher (preferrably + Air Raider with Laser Guide Kit)
- Wing Diver: MONSTER or Raijin (preferably + Air Raider with Plasma-type Assist Device)
- Fencer: Hand Cannon, Gallic Heavy Cannon or Leviathan (+ Air Raider with Laser Guide Kit)
- Air Raider: Epsilon Armored Railgun, Buster-type BM03 Vegalta, Limpet Sniper or 150mm Cannon (4.1 only)
Drop Level: 0-51 (Inferno)
While the drops here are terrible since there are only 8 enemies in the entire level which results in so few items there are sometimes no weapon crates at all, since all those enemies are Retiarii this is a fairly easy mission to beat even on Inferno as long as the player has a decent sniper-type weapon and knows what a Retiarius is, though uniquely this is a mission that the Wing Diver is the worst class for. On Inferno the Retiarii have about 10,200 health, but as long as the player sticks to fighting them one at a time, wearing them down should not be particularly taxing. The class that can pull this off the earliest would be a Fencer co-op'd with an Air Raider, since even the level 3 Leviathan missile (which can first drop in Land Collapse on Easy or Takedown on Normal) can kill these Inferno-level Retiarii in three shots, while the level 34 Leviathan MA will kill them almost five times over.
The main risk is the fourth Retiarius tucked high up between two tall buildings to the right of the main road.
Air Force (2025)
Mission 11 (2025)
No prerequisites
Drops: 0-55 (Inferno)
This mission features two powerful teams of NPC allies, a sniper team and a rocket launcher team, who can defeat all of the Flying Drones in it by themselves even on Inferno, leaving a large heap of crates near the base of the bridge where the player character starts. It can be beaten by simply retreating into the city area behind the start location so the Drones do not go after the player character and waiting, moving in to collect the items when only a few enemies remain.
This does not work in 4.1 because this mission is evil there.
Preventing Landfall (4.1)
Mission 14 (4.1)
Prerequisites:
- Any class: at least one high-damage weapon
Drops: 0-56 (Inferno)
This mission features a huge EDF army including 6 tanks added in 4.1, and with this addition to deal with the Hectors the mission is an auto-win even on Inferno. It is best to move backwards as soon as the mission begins, to avoid getting the attention of the Flying Drones, which can unceremoniously wreck an underlevelled character, and have a powerful weapon like a sniper rifle or rocket launcher in case one of the Drones comes calling. Players should avoid the beach until the first wave of Hectors is gone, move down, grab items, and then retreat until the last group of Hectors is thinned out. This is only difficult for a Ranger since he has the lowest mobility, but since this is weapon farming, co-op'ing with an Air Raider will allow a vehicle to be summoned to speed up ol' rolley while he grabs things.
Crimson
Mission 26 (both)
Prerequisites:
- Wing Diver: Idunn-E Custom or better, or Thunder Bow 20R or better. Rapier for hiding in trees.
- Fencer: High-level CC Striker (eg Vulcan Hammer ZD), Javelin Catapult, Dynamo Blade
- Air Raider: EF31 Fire Nereid, or NX Large Coastal Missile / Tempest and Walking Fortress Balam B-Type or better (4.1 only)
Drops: 3-63 (2025 Inferno), 4-64 (4.1 Inferno)
This mission is chosen because there is not a single enemy in it with a ranged attack, though it is quite tricky the first few times, especially in 4.1 where there are more Ants and Dark Crimson Ants are added to the final wave. Since there are no enemies that can fire, it is perfectly safe for a Fencer to use a Javelin Catapult instead of a Shield to maximise his mobility.
There are a wide variety of techniques for beating it easily, many involving waiting for the EDF NPCs to be killed off by the Ants to centralize the resulting loot pile. One method is to use a Wing Diver and stand on top of a tree, making it hard for the Ants to actually attack, and use a powerful Rapier or similar to beat them up. This is tricky since many weapons suitable for fighting the Ants are also suitable for destroying the tree, and actually landing on top of a tree takes some skill: the best way is to walk right up to the trunk until the Wing Diver stops moving because of it, fly up vertically, and then tap forward just slightly. This can also be done with a Fencer in 2025 using a weapon with a back thruster, but in 4.1 his special destructo-body will smash the tree when he touches it.
The Fencer method for this level involves using the mobility of the Fencer with Javelin-cancelling to dance around the mass of Ants and a weapon pair consisting of two high-level defense-boosting CC Strikers to do damage, preferring ones with long "swing" animations like the Vulcan Hammer and Vibro Roller. By firing one while charging the other, the Fencer will receive a near-constant, massive defense boost which makes him incredibly hard to kill. Often the fourth weapon bought along will be a Dynamo Blade to hurl some shots into groups as they approach.
Another method is to use an Air Raider with a Fire Nereid, again waiting for the Ants to kill everyone off before using the helicopter's flamethrower to rain death on the churning mass below, landing briefly after each wave to grab loot before quickly taking off again.
Perhaps the silliest Air Raider technique is made possible in 4.1, and uses two NX Large Coastal missiles or Tempest missiles on the first wave of Ants to pull in enough reload credits to drop a Walking Fortress Balam, whereupon the flailing commences.
Den of Thieves
Mission 75 (2025), 79 (4.1)
Prerequisites:
- Wing Diver: Thunder Sniper 40 (yes, really)
Drops: 29-89 (Inferno)
Den of Thieves is a battle against Spiders, which is rarely a good idea with low HP, but it is also a tunnel mission, which is always a good idea with a Wing Diver, and is one mission where the Thunder Sniper 40 demonstrates it is not a sniper rifle, but a shotgun with a range of over a mile.
The Thunder Sniper's shots will reflect off walls out to its full range, passing through enemies and dealing damage to multiple targets per shot. In 2025 they can even deal damage to the same target multiple times, making it very powerful in tunnel levels. Since all the enemies in this mission are in large rooms the shots have difficulty leaving, they will tend to bounce around the entire room, though they will sometimes also hit the Wing Diver: this is a problem if the Wing Diver has very low HP, since the shots do 200 damage, more than her starting health.
Since the Thunder Sniper 40 can drop on Crimson, this level is a good next port of call, especially since unlike Crimson it can drop a Thunder Bow 30, one of the Wing Diver's better general-purpose weapons and a gigantic step up from the 20R model.
While the Thunder Sniper 40 has no magazine, it is still not a bad idea to take two of them since it will all but eliminate the delay between shots. This level is an excellent place to bring a co-op Air Raider along with Plasma assist devices: bringing two sets along will mean the Air Raider can reload one of them while the other is deployed, keeping up a constant rate of assitance.
Death Queen
Mission 76 (2025), 80 (4.1)
Prerequisites:
- Wing Diver: Idunn E Custom or better, Thunder Sniper 40 or Thunder Bow 20R or better (very hard without at least 30)
Drops: 30-90 (Inferno)
Death Queen is the final tunnel mission outside DLC, and so the best place to abuse the Wing Diver's ability to fire around corners for fun and profit. This mission has rather poor drops since most are standard enemies and it is hard to get anything that drops in the Queen Chamber, but it can drop almost every high-level weapon in the game; unlike Den of Thieves, this includes the level 90 Idunn-FF, one of the best weapons the Wing Diver has.
For the other weapons, the Wing Diver should take two of the one they prefer; her ability to reload weapons that are not selected will mean that she is reloading one while firing the other, allowing for a constant rate of fire. The 71% energy drain of the Thunder Bow 20R will result in occasional interruptions for emergency reloads, which is why it is not recommended.
This mission is somewhat easier in 4.1 than in 2025, both due to added NPCs and a change to the start location; rather than the initial wave of 35 Spiders bouncing around uselessly in a room below in a manner very similar to Den of Thieves and jumping down resulting in a thorough spidering, the new start location is up the tunnel under the old one, which is a dead end and so prevents the spiders attacking from more than one angle. The spiders now start in the circular area surrounding the main room, and so can only arrive slowly.
In both versions, touching the floor of the main room summons the second wave, 53 Hornets, spawned in all of the side tunnels; in 4.1, this includes a group of 3 or so spawning in the starting room (this is the enemy's trap).
The next wave start out idle in the next chamber, 30 Hornets in 2025 with 4 Red Hornets added in 4.1. This group is quite easy to fight by just staying in the tunnel, since most of their diagonal attacks will just slam into the wall above.
In 2025 the Ranger team across this room at the entrance to the Queen Chamber has already managed to aggro 20 Hornets and one Death Queen by the time Storm Team arrives, with the other 20 and the second Death Queen trying to defeat the EDF soldiers by hiding at the other end of the chamber and not caring forever. In 4.1 there are 80 Hornets in the final chamber and they and the Death Queens all start out idle. The main chamber is dark in both versions, but in 2025 this is done by decreasing the draw distance rather than the light level per se, so the Queens are easy to keep track of and target. They are just huge vague shapes in the gloom in 4.1, and very dangerous since it is difficult to figure out where they are or what they are doing. Going into the Queen Chamber in 4.1 is basically suicide unless both Queens are killed first; it is easy to tell when a Queen is dead from the shuddering of the corpse hitting the ground.
Machine Squad
Mission 77 (2025), 81 (4.1)
Prerequisites:
- Air Raider: High-level Epsilon Armored Railgun
Drops: 30-90 (Inferno)
Machine Squad is well-known as a farming mission for Air Raiders, with far more item drops than Death Queen at the same level. Since all the enemies are Deroys, all that is needed to beat the mission is a high-level Epsilon. If the player has one that can one-shot them, the 2025 version of the level becomes target practice. It is still easy in 4.1 since there are two NPC Epsilons, three E551 Gigantus tanks and a Wing Diver unit with MONSTER sniper rifles added; it is well worth bringing a Plasma Charger and a Power Post as the Air Raider's other equipment to power up these allies.
There are seven Deroys in 2025, rather substantially upped to 24 in 4.1, though the added allies mean this is not as tough as it sounds, particularly since they tend to overlap and allow the Epsilon to take down several with a single shot. It is worth noting that the central Large Transport Ship will drop one Deroy behind the main group of NPC tanks; since a dropped Deroy slams its body into the group as part of its deploying animation, if the player has their own Epsilon here it is rather likely to be hurled to the nearest map edge by the collision. Therefore, it is best to deploy the Epsilon at the start location, run forward to place a Power Post, and then run back to it.
In 4.1, it is best to keep on the move grabbing items rather than stay with the group of tanks, since the drops on this mission are quite spread out and the Epsilon is not the fastest vehicle in the world.
Fallen Flagship (2025)
Mission 77 (2025)
Prerequisites:
- Ranger: Lysander F or high-level Stringer
- Air Raider: High level Epsilon Armored Railgun or BM03 Vegalta Busterlord, Limpet Sniper F3 or Limpet Gun MA, Caesar Wire ZD
- Fencer: High-level Gallic Heavy Cannon (preferably 35mm Battle Cannon), Leviathan (MA will do) or Phoenix (X or better) (+ Air Raider with Laser Guide Kit or Guide Beacon Gun)
Drops: 33-93 (Inferno)
This mission can drop every weapon in the game except Rule of God and is relatively easy to take on in 2025 as long as the player has a powerful sniper weapon; once again, the Wing Diver is actually the worst class for this mission as a result, though she has her own cheesy tactic to beat this mission in 2025 by firing Gungnir at the Brain, which even on Inferno will wipe out all of its health in one shot in singleplayer and make it leave without summoning any Earth Eaters.
The common tactic for this mission uses a Ranger with two Lysander Fs (or preferably Zs) to deal damage, switching guns for every shot to speed up the Lysander's normally slow rate of fire and taking out targets in a specific order. The Ranger starts by taking out the laser modules on the large Deroy's legs, then the Deroy itself. The next target is the Hector to the right, then all of the Flight Vehicles. After this the Ranger snipes the remaining Hectors, then the smaller Deroy, and finally enters the crater and takes out the Shield Bearers.
This leaves only the Brain. It is attacked until it summons Earth Eaters (about two thirds of its 129,000 singleplayer Inferno health gone), then the target is switched to the core panels of the Earth Eaters and their spawner plates. With all of the Earth Eaters destroyed, this leaves only the unarmed Brain hovering over the crater, giving the Ranger (or a co-op character) as much time as they want to pick up items before taking it down.
If using a Fencer, it is best to go with a mobility setup on one weapon set with the second pair either two Gallic Heavy Cannons or, if co-op'ing with an Air Raider, one Gallic Cannon and one Phoenix or Leviathan.
This mission is harder to deal with in 4.1 since additional Shield Bearers project a large field over the entire crater, forcing Storm Team to go down into it to deal with the enemies. Moreover, the new Shield Bearer AI makes taking out the Hectors in the crater much more difficult.
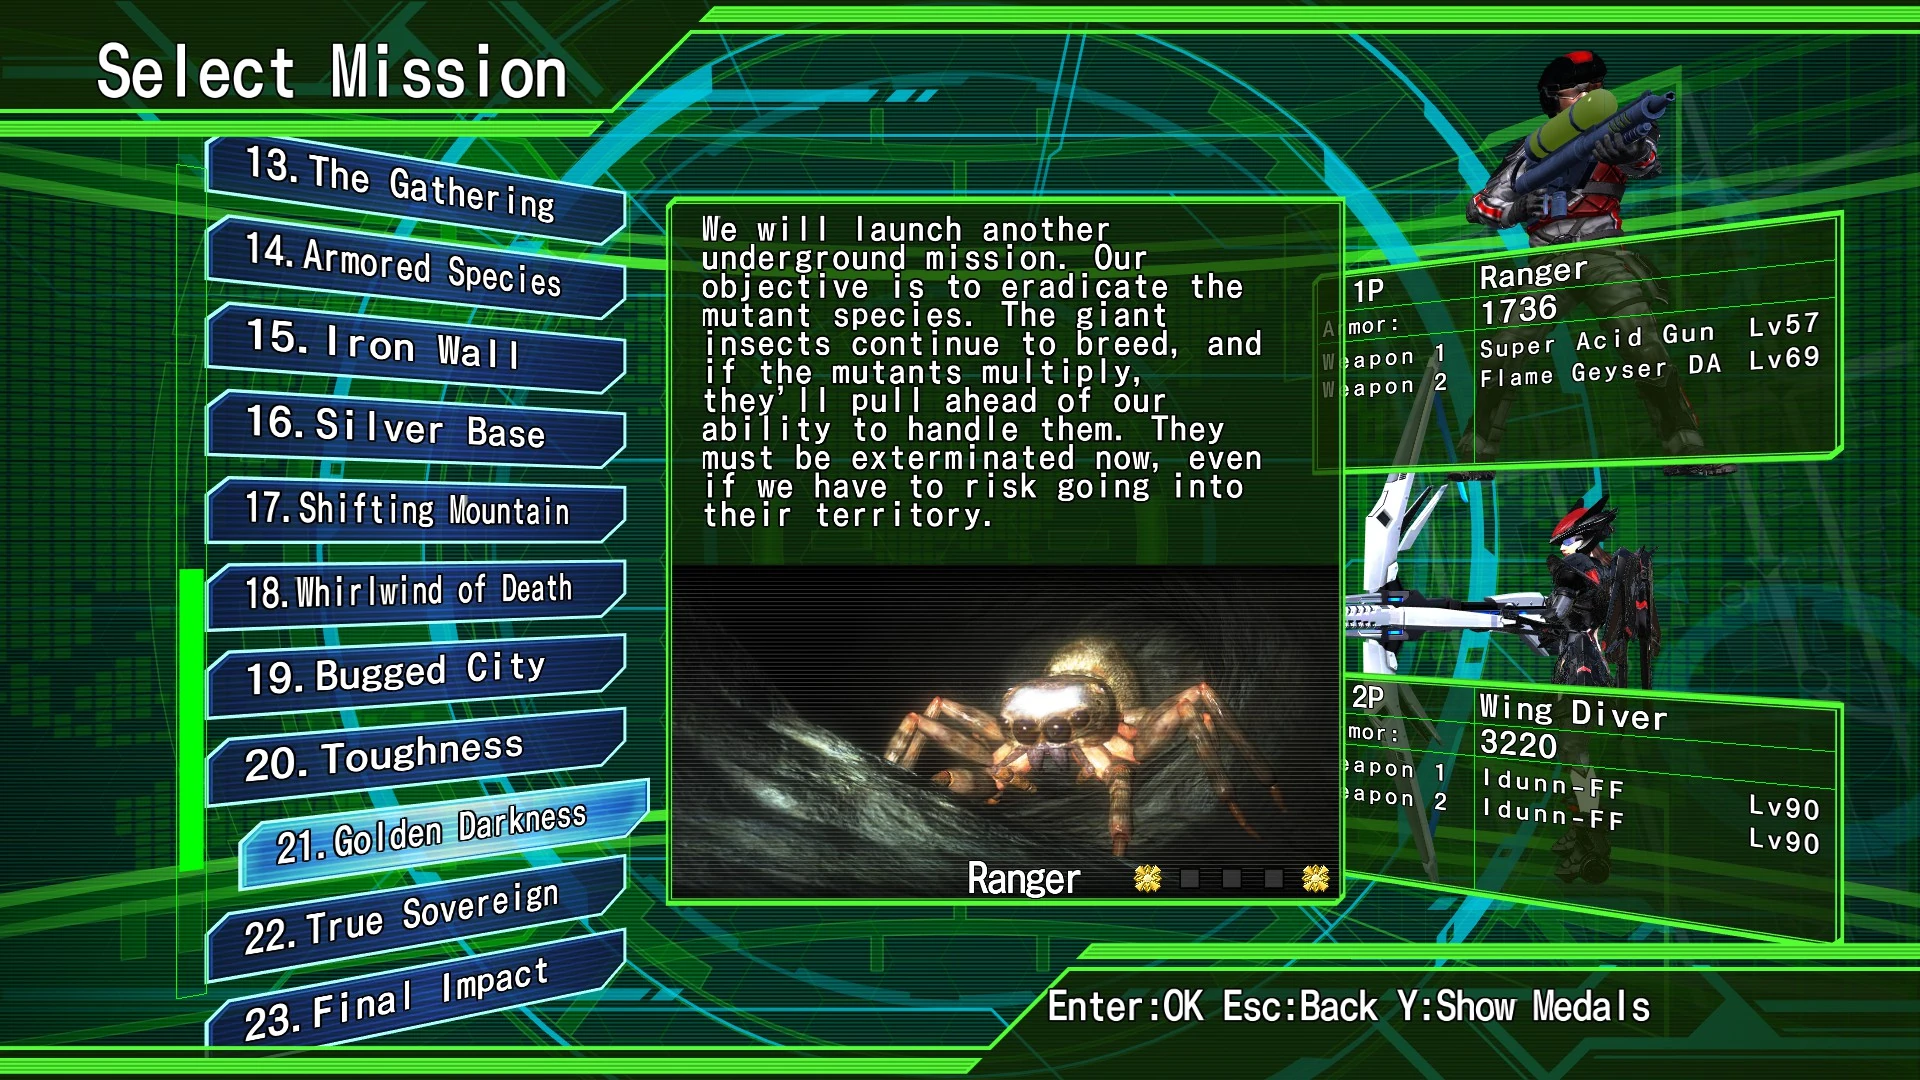
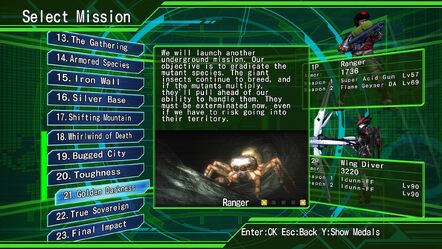
Golden Darkness
Pictured: a Spider that is sad because it dies a lot.
DLC 2 mission 16 (2025), DLC 1 mission 21 (4.1)
Prerequisites:
- Have 2025 DLC 2 / 4.1 DLC 1
- Wing Diver: Idunn E Custom or better, or Thunder Bow 30 or better (not as good).
- Air Raider: any Depth Crawler for better mobility (4.1 only)
- Ranger: Super Acid Gun, Flame Geyser DA (can solo on Hardest)
Drops: 35-95 (Inferno)
The best weapon farming level bar none, Golden Darkness can drop every high-level weapon in the game and is remarkably easy for a Wing Diver to beat even with very low health, though without at least four digits any mistake will essentially be instant death.
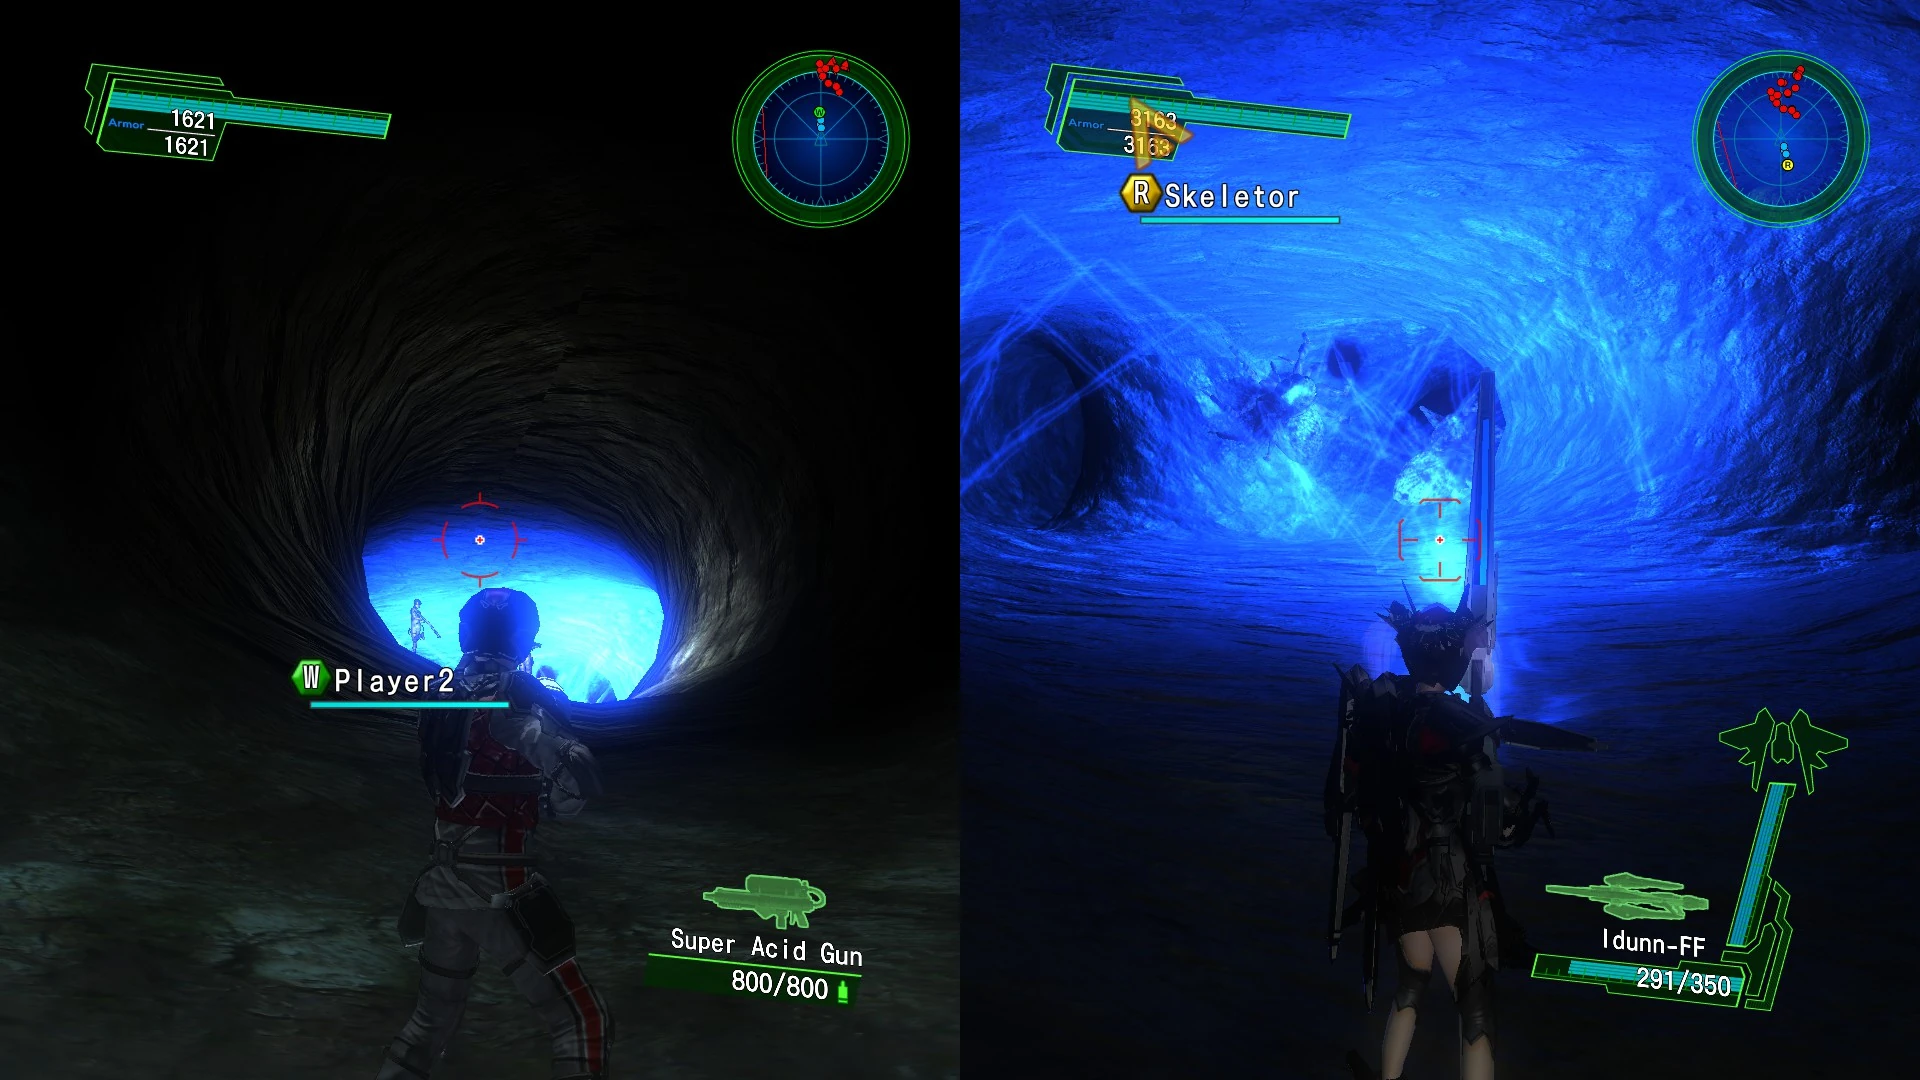
"Eric, I think we need to move out of this cave, it's full of lightning and humans."
This level uses the Cave map, starting out in a large room with three passages. Unlike every other level called Golden Darkness in the series, almost all of the enemies are Spiders with the large number of drops mostly coming from 38 Silver Spiders, with a final wave of 45 Gold Ants providing a serious obstacle to getting all the delicious treasure. On the plus side, Gold Ants have an almost 100% item drop rate, and so they too add to the level's haul. Since only the first group of enemies begins the mission aggro'd, it is perfectly safe for a second character to stroll around hoovering up items as long as the Wing Diver is not within sight of the next group.
Because the Wing Diver will be doing everything, it is best to focus any second character who is not also a Wing Diver on supporting her. Healing the EDF NPCs is also a decent thing to use them for if they are a Ranger or Air Raider, since, despite their alarming tendency to jump in front of the Wing Diver while she is firing her Idunn, they can be very useful for drawing fire and at the end of the level for preventing Gold Ants attacking the Wing Diver from behind if she is being aggressive. An Air Raider can also be used to set up Bunkers or ZE-GUNs prior to aggro'ing a wave to provide increased defense or supporting fire, and can place Assist Devices to make things go more smoothly in general.
Golden Darkness has five waves of enemies:
- In the initial room there are 18 normal Spiders and 3 Silver Spiders.
- In the winding tunnels where Charge Phase 2 takes place there are 30 normal Spiders and 14 Silver Spiders.
- In the large chamber above the tunnels and the chamber on the level below it there are 38 normal Spiders and 4 Silver Spiders, with about 8 normal Spiders in the former and the rest in the latter. It is worth noting that in 2025 the tunnel leading up into the first of these chambers has a glitchy right wall that the Spiders in the lower chamber can shoot through.
- Through a couple of tunnels in a chamber with a drop, there are 17 Silver Spiders.
- In a chamber off to the far left of the large room that follows and in a tunnel accessed by a high opening straight ahead, there are 45 Gold Ants divided into two roughly equal groups. Sometimes there are one or more "scouts" from this group wandering in the main chamber, other times they stay in their spawn locations.
All but the last wave come with a free group of Rangers with shotguns to help out / get in the way.
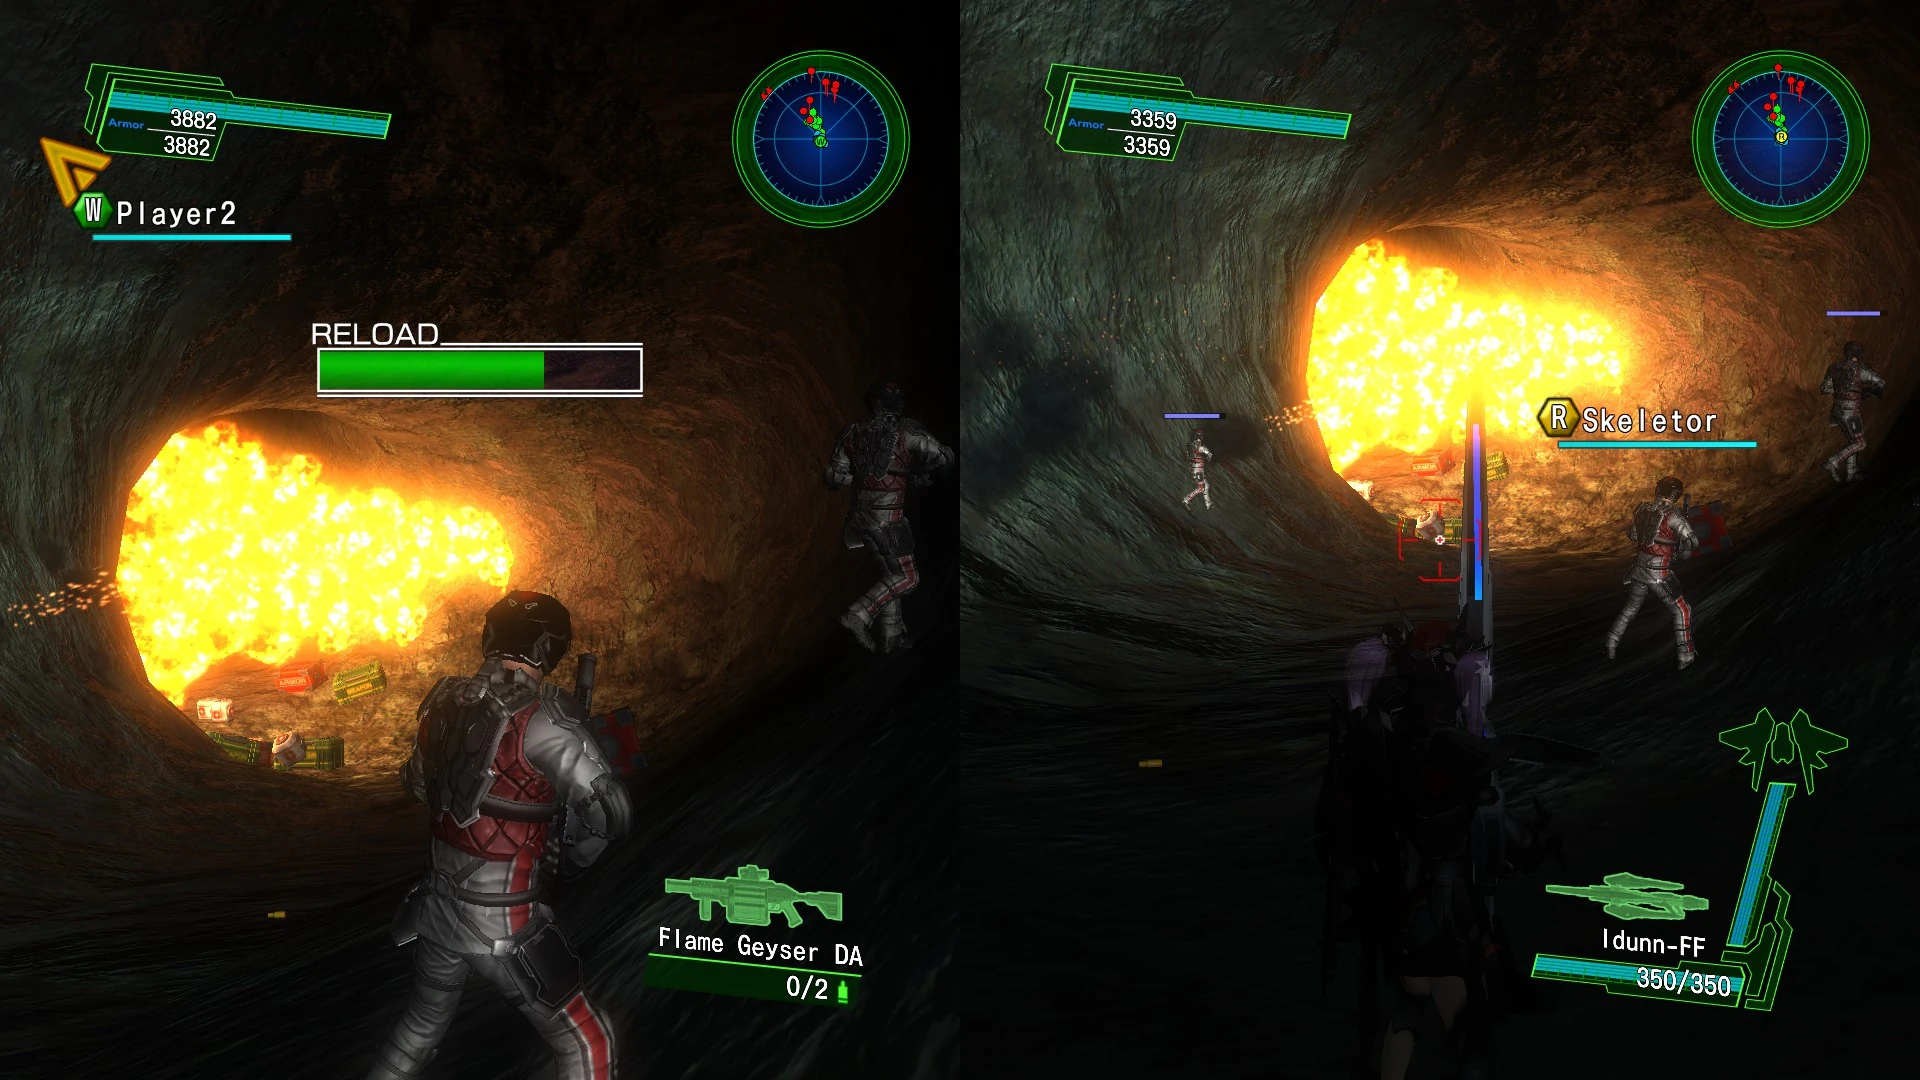

As the Wing Diver looks on, a Ranger demonstrates how to block corridors with a Flame Geyser DA. "The key is not shooting people who walk in front of you."
All but the last wave are best handled by using the Idunn's fragmenting beam to stunlock any Spider that gets in range. With low HP it is best to have the Spiders come to the Wing Diver and try to back up to locations where they cannot fire from multiple directions, while with higher HP the Wing Diver can be very aggressive in all but the fourth wave, where entering the room at all is more or less a death sentence. While firing, it is important to watch the Idunn's ammo counter and switch as soon as it hits 0, since just switching when it stops firing creates a pause long enough for enemies to recover and attack.
One trick to handle the third group easily is to have the second character push up against the right wall of the tunnel leading up towards the first group of Spiders, moving forward to the point of aggro'ing the group in the room above before switching to the Wing Diver; if done correctly, the second group will mostly be too busy trying to attack this character to go after the Wing Diver. This is not such a good tactic in 2025 since the Spiders are quite likely to succeed in attacking this character due to the aforementioned glitchy tunnel wall. It is still slightly glitchy in 4.1, but the area they can shoot through is tiny by comparison.
There are two ways to handle the final wave of Gold Ants, neither really any less risky than the other. The first is to take them on from the bend in the tunnel that leads down into the main room; this will mean they have to turn a corner before they can fire, and so is safer, but it does mean that they can suddenly burst in after wandering around on the walls and take the player by surprise. Surprise in this case means up to 10,000 damage with even a single splat of acid knocking off around 540 health, and therefore is not a good thing. This method also drops all of the goodies where a Ranger or Air Raider without a Depth Crawler can get to them, meaning they will get all the weapon pickups, which is nice because the game likes to spawn nine of the things in the upper tunnel if the player does not do this.
This method is more or less mandatory if there are one or more Ants scouting the main chamber, since trying the other will lead to them either hitting the Wing Diver as she passes or attacking from behind before the Rangers can engage them.
The second method is riskier and works best with the Idunn-FF, since it has almost double the ammunition of other models. This method has the Wing Diver fly up to the tunnels to the right and attack the Ants before they can come out, always firing diagonally into the tunnels rather than standing in line with them to avoid counterattacks. In 2025 it is important to kill all enemies in the first part of the tunnel and get to the end quickly, turning around to attack the others; sometimes the Gold Ants in the switchback of the tunnel can shoot through the left-hand wall, and this is a Very Bad Thing. From this point on, Ants will come up the tunnel from the other chamber and can easily be taken out at long range by firing the Idunn blind; a couple might wander into the main room, but the Ranger unit can handle a couple of Gold Ants since they seem to have about fifty thousand health each in this mission. The other character can be used to pick up any loot they create.
When firing down the tunnel blind, particularly with the Idunn-E Custom 2 which is something of a lightshow, it is a good idea to keep one eye on the radar to make sure an Ant isn't sneaking around the weapon's area of effect; Gold Ants can open fire at very long range, and only the most partial of hits is survivable for a character without five-digit health.
This method is quick and largely prevents sudden Antbushes, but has the problem that it is difficult to get another character up into the tunnels where the Wing Diver is; the normal path up is a long ramp that goes almost all the way to the entrance to the other chamber and using it will almost certainly draw Ants out of the chamber to attack the other character. A Fencer with a back booster can jump up, while in 4.1 an Air Raider can use a Depth Crawler to scale the wall and get into the tunnel that way, but a Ranger is basically out of luck and it is easier to just collect the items as the Wing Diver to try to get whatever high-level thing that just refuses to drop for her.
Since ZE-GUNs can shoot through the "plugs" in this level, there are a few places where the Air Raider can place them to make life easier. Probably the most well-known is to turn around and place them up against the plug at the entrance to the level, which blocks access to where the right-hand group of Gold Ants spawns later; if placed correctly, they can sometimes take out half of the group with no effort at all. There is another plug in the Charge Phase 2 area which blocks access to the room where the Silver Spider only wave spawns, though it is necessary to wait until they have got up to the upper level of the chamber before switching these guns on. If the player is not easily bored, they can do both, having the Air Raider double back to the beginning of the level to deploy a second set of guns.
In 2025 there are some issues with playing this mission online since it depends heavily on stunlocks from high rate-of-fire weapons and 2025's poorer netcode means damage often "leaks" and gives the enemies chances to recover and fire, so it must be handled more carefully. If playing this version online it is better to used two Thunder Bow XDs and play less aggressively. The mission is fine to play online with Idunn-FFs in 4.1.